The demand for solar panels is rising due to increased energy prices, affordability, and kit availability. DIY solar panel installation provides a cost-effective way to generate renewable electricity and self-sufficiency. Solarsense Solar assists in building solar panels for energy security and off-grid properties. Most people, including those without electrical training, should not attempt DIY solar installation. The guide covers planning, permitting, interconnection, and maintenance of a solar project. But it’s crucial to weigh the pros and cons before undertaking it alone.
Learn more: the benefits of solar panels?
What is meant by a Diy Solar Panel Installation?
One can assemble and install DIY solar panels as kits. They are compared to IKEA in solar power technology, with step-by-step instructions and customer support. While solar incentives can reduce the cost, they require an initial investment of over $20,000. DIY solar panels only save about 10% of the total bill, but the risk of improper installation, lack of access to high-quality equipment, and additional installation time make the extra 10% worthwhile.
Many people are more concerned about installing solar panels themselves and the Google trend shows a high level of inclination in the past few years. This I believe corresponds with increased awareness of the need for effective and renewable sources of energy such as solar power. A large population means more consumers of electricity hence the cost of electricity goes up. DIY Solar panel installation in Delhi at home appears to be a viable solution for the generation of electricity as it becomes cheaper and potentially makes the owner independent of the existing grid for electricity. Therefore, bringing down the electricity bills.
The Solar Energy Industries Association (SEIA) suggests that DIY solar panel systems can save 20-50%, but this doesn’t include potential mistakes or hiring professionals. Professional installers completed 72% of installations in a 2020 survey, implying that the technical complexity might discourage some from attempting DIY projects. Government rebates and tax credits for solar installations in Delhi may be contingent on professional installation, and the Database of State Incentives for Renewables & Efficiency (DSIRE) is a resource for finding specific solar incentives in your area.
How much DIY solar panel costs?
Wood Mackenzie’s June 2023 report reveals that nearly half of the cost of a turnkey solar system is spent on the installer’s overhead, customer acquisition costs, and labor. Installing solar panels yourself could save almost 50% compared to using a big company, especially if you find good prices on panels and components. However, there is a risk of overspending with professional solar installers due to tax incentives and credits.
Learn more: How do solar panels work?
DIY Solar Panel Installation Steps
- Discovering Energy Needs: Calculate energy needs by considering appliances, lights, and other electrical devices for your solar system. Use a step-by-step solar sizing guide to determine the required panels.
- Analyzing Your Property and Selecting the Best Location: Choosing the optimal location for solar panel installation involves considering factors like shading, orientation, roof space, and daytime sunlight availability, ensuring no obstructions.
- Select the Perfect DIY Solar Kit: Choose a suitable DIY solar kit and consult with a solar expert for expert guidance.
- Buy the best DIY solar panels: Select from various financing options for solar panel installations. Ensuring you choose the one that best suits your budget and financial situation.
- Get the Right Tools Handy: The list includes hand tools, measuring tools, safety equipment, fall protection, ladder, power drill/driver, power saw, battery, pry bar, and caulk gun.
- Purchase the necessary materials not included in the kit: Most DIY solar panel kits come with the kit, but some require purchasing and electrical wiring is usually not included.
- Get Safety Equipment: The size and complexity of the system and the specific hazards in the work environment determine the required safety equipment.
Know how to install it
After assembling a DIY solar kit, and acquiring all necessary tools and safety equipment, it’s time to begin the heavy lifting.
DIY Solar panel installation steps
1. The first step is to install the Racking system:
To install a roof-mounted kit, mark the location of the roof rafters as the foundation for your solar array. Use a stud finder or measure them from inside your attic. Mark the rafters with a chalk line to see the racking rail layout. Bolt the flashing to the rafters.
Or, if you are installing it on the ground. The ground mount requires a standalone metal foundation to support the solar panels, which require drilling 18-inch-deep holes and pouring concrete footings. To comply with the National Electrical Code (NEC), wiring must be buried underground. Renting machinery for digging and anchoring is recommended. The metal substructure then secures the racking rails to the support structure, which provides a foundation for the panels.
2. The second step is to install the Inverter system:
Microinverters should be wired before installing solar panels, while string inverters should be wall-mounted in easily accessible locations for efficient wiring and cost-effectiveness.
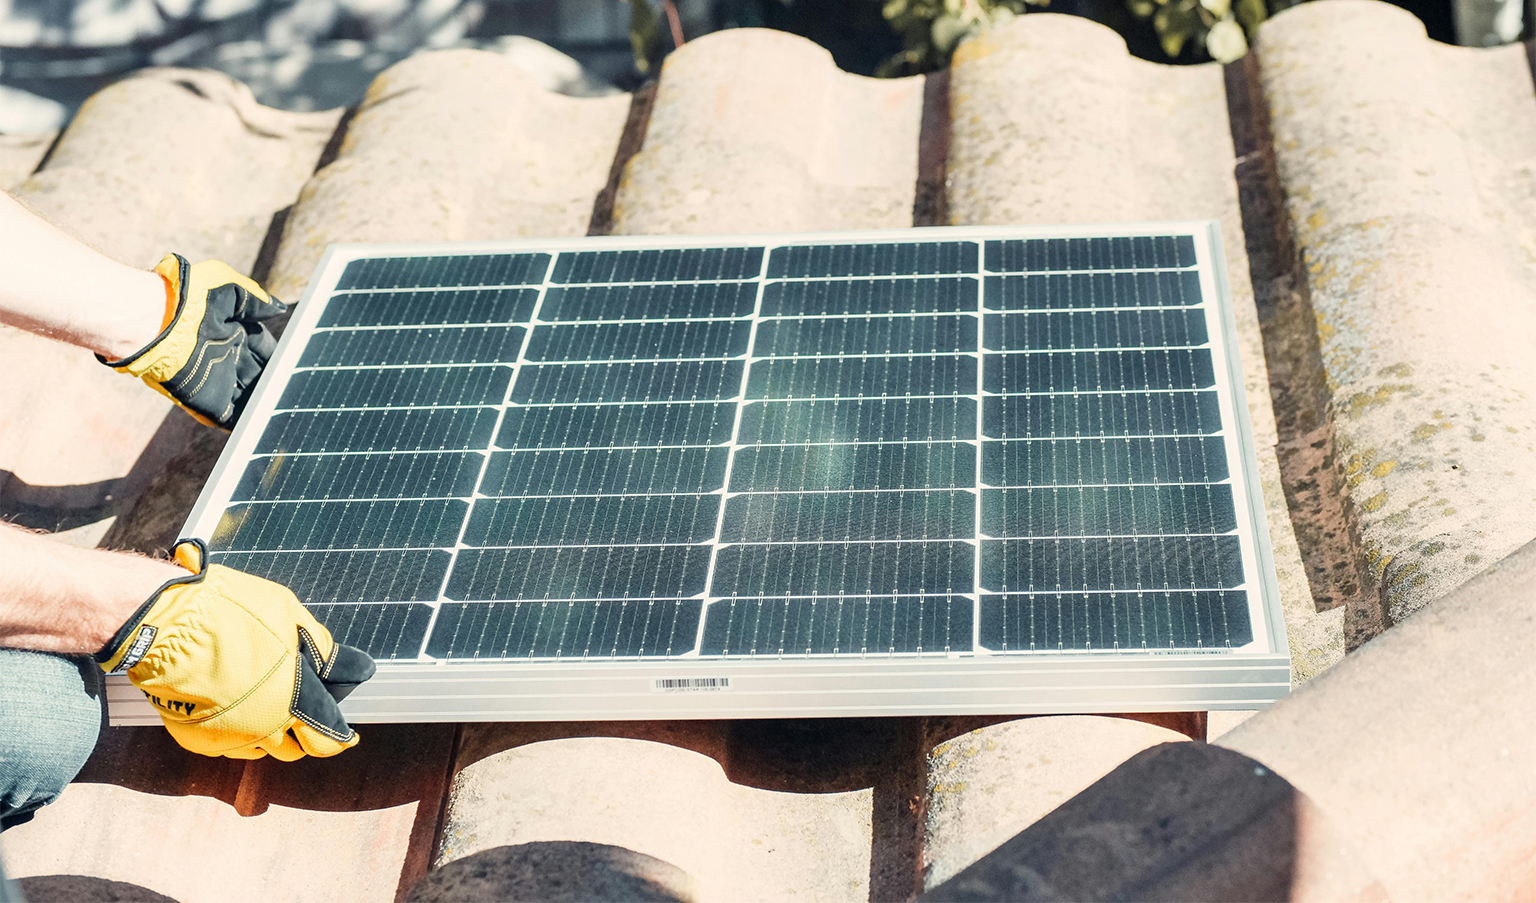
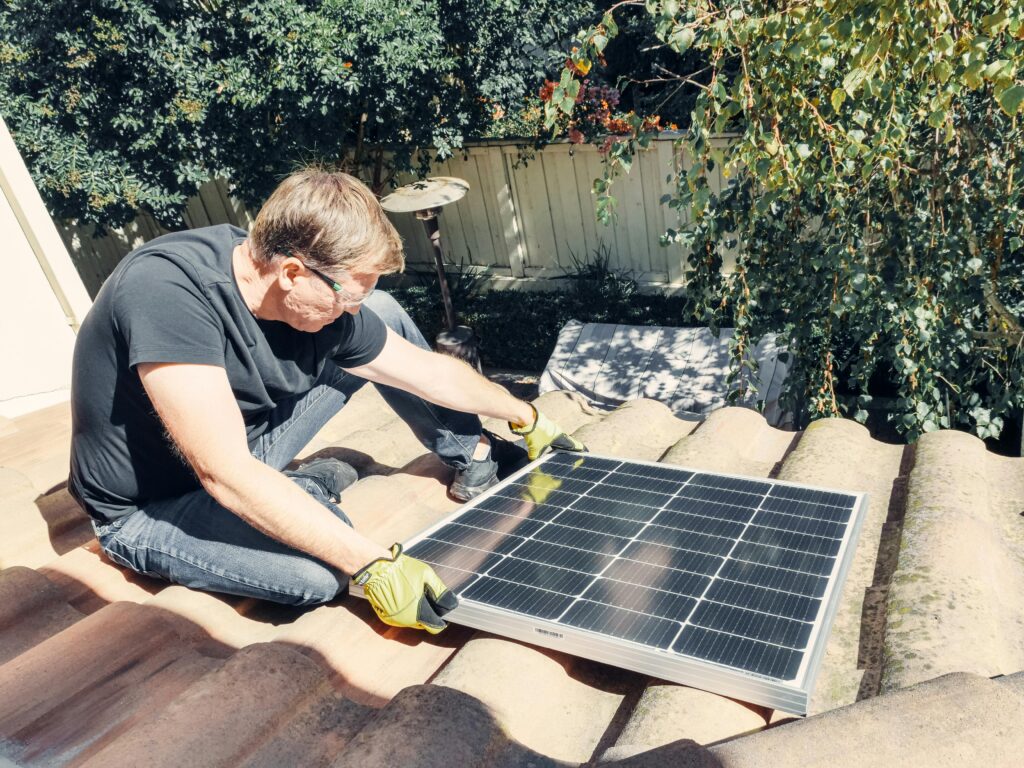
3. The third step is to Solar panel installation process:
Installing solar panels on racking is easy. Use two end clamps to install the first panel, then use grounding mid-clamps for each consecutive panel. Secure the last panel with two more clamps. If installed on a roof, hook up the connecting wires before bolting the panel to the racking rail, as they will be inaccessible once installed.
4. Now, the fourth step is or next task is to install the battery:
Site Preparation:
- Identify the installation location and ensure it meets space, ventilation, and access requirements.
- Prepare the installation surface to support the weight of the battery and install the mounting bracket.
Electrical Installation:
- Install AC and DC wiring and current transformers (CTs) as per manual instructions.
- Ensure proper grounding of AC and DC circuits.
- Connect the battery to the gateway for commissioning.
Mechanical Installation:
- Mount the battery onto the prepared surface using mounting brackets.
Commissioning:
- Configure the battery, verify it’s communicating with the monitoring system, and confirm system operation.
- Discover the manufacturer’s installation manual and follow all directions and safety precautions.
5. The last step is for the Wiring the system
The final installation step involves wiring the system components according to your manual, routing wires from inverter(s) through a junction box and a PV disconnect switch.
Crucial Steps for Smooth and Efficient Function for DIY Solar Panel Installation
After installing your solar system, schedule and pass a solar inspection to ensure safety and compliance with local regulations. Contact your local building department for information about inspections and to schedule an appointment. Prepare your system for inspection, making sure it is easily accessible and equipped. Attend inspections, which may require repairs or modifications. After obtaining a permit to operate (PTO), install a monitoring system to detect problems and ensure optimal system functioning. Connect to the Internet, register your system, set up alerts and notifications, and monitor your system regularly to identify areas for improvement. Regular maintenance, such as checking for debris, damage, the inverter, battery system, and monitoring system, is important for optimal performance.
Our Address and Contact Information
Visit us at our convenient location in Azadpur:
- Solar Sense
- 13 Main GT Road, Azadpur, Delhi-110033
- Contact Number: +91-8130025257
- Email: info@solarsense.in
Get in touch with Azadpur
Ready to make the switch to Solar Panels? Contact Solar Sense today to schedule a consultation and find out how we can help you harness the power of the sun.
- Phone: +91-8130025257
- Email: info@solarsense.in
Stay connected with us for the latest updates and offers on our solar solutions.